There's no separate admin install. As an organization lead or admin, you set up Chartbuddy through the regular installation flow, then manage your team from the Chartbuddy dashboard.
Step 1: Install Chartbuddy
Install Chartbuddy from the Chrome Web Store and complete the setup flow like any other user. See How to install Chartbuddy.
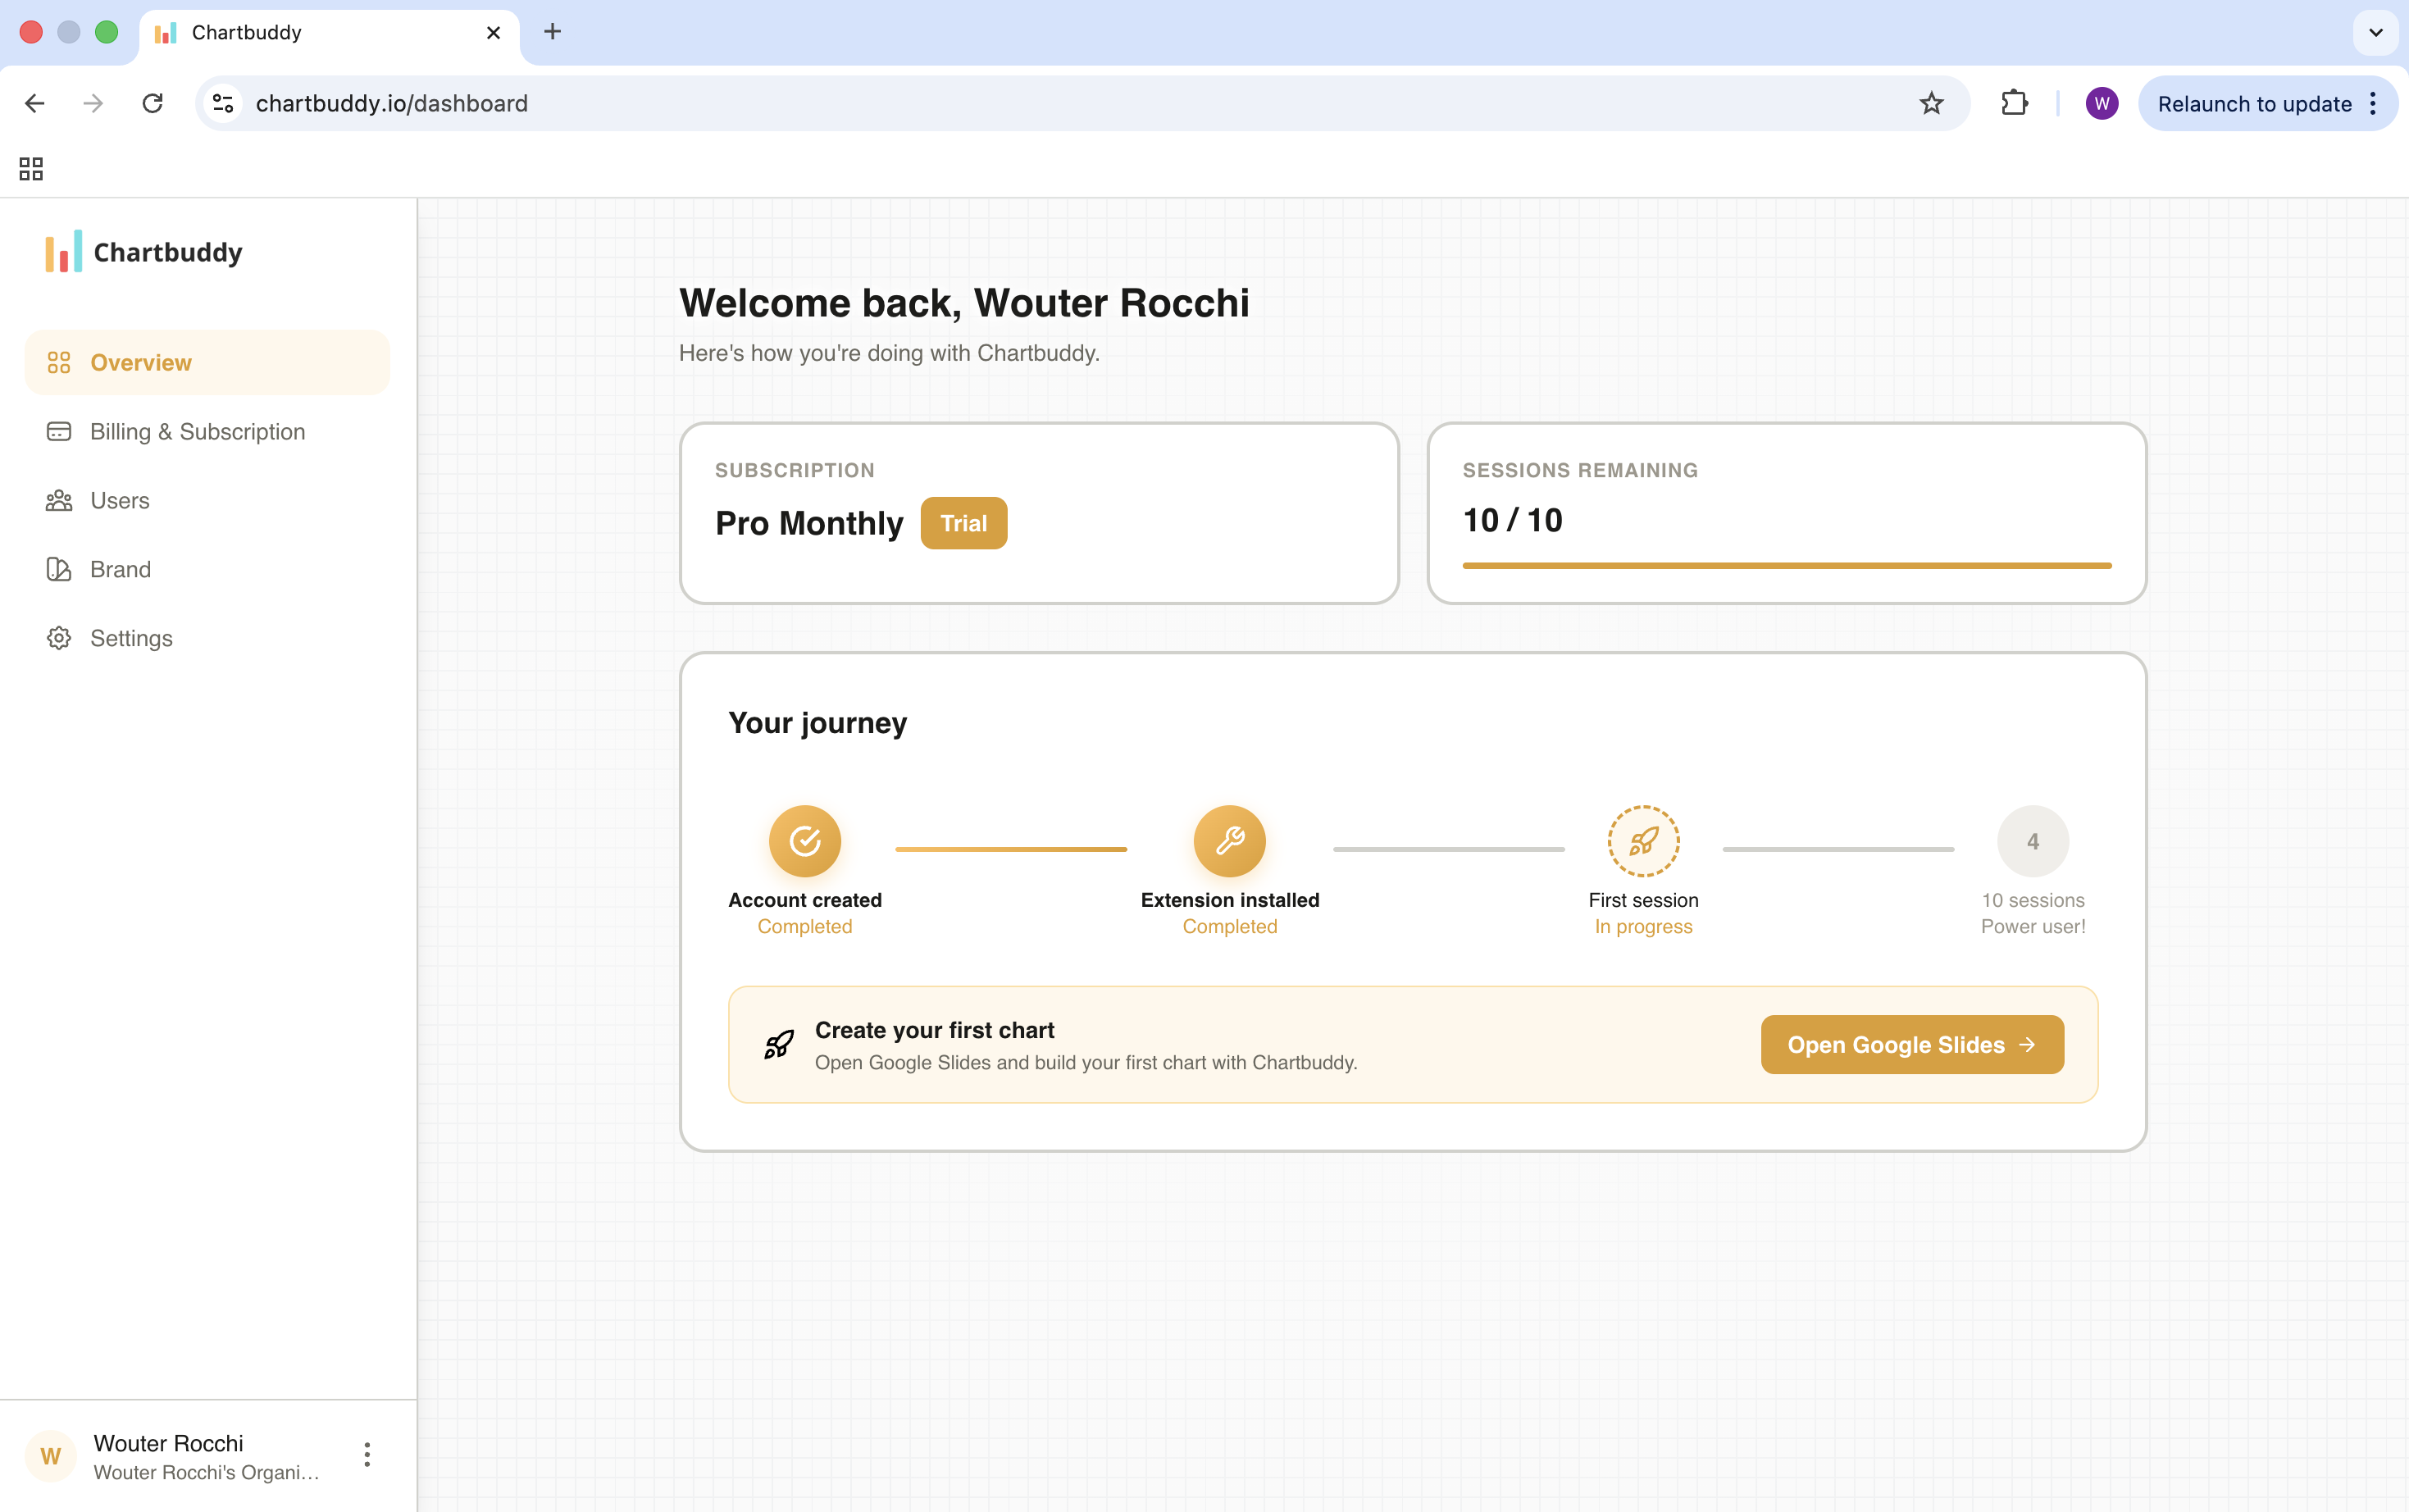
Step 2: Log in to your Chartbuddy dashboard
Go to chartbuddy.io and log in. This is where you manage your organization, users, and billing.
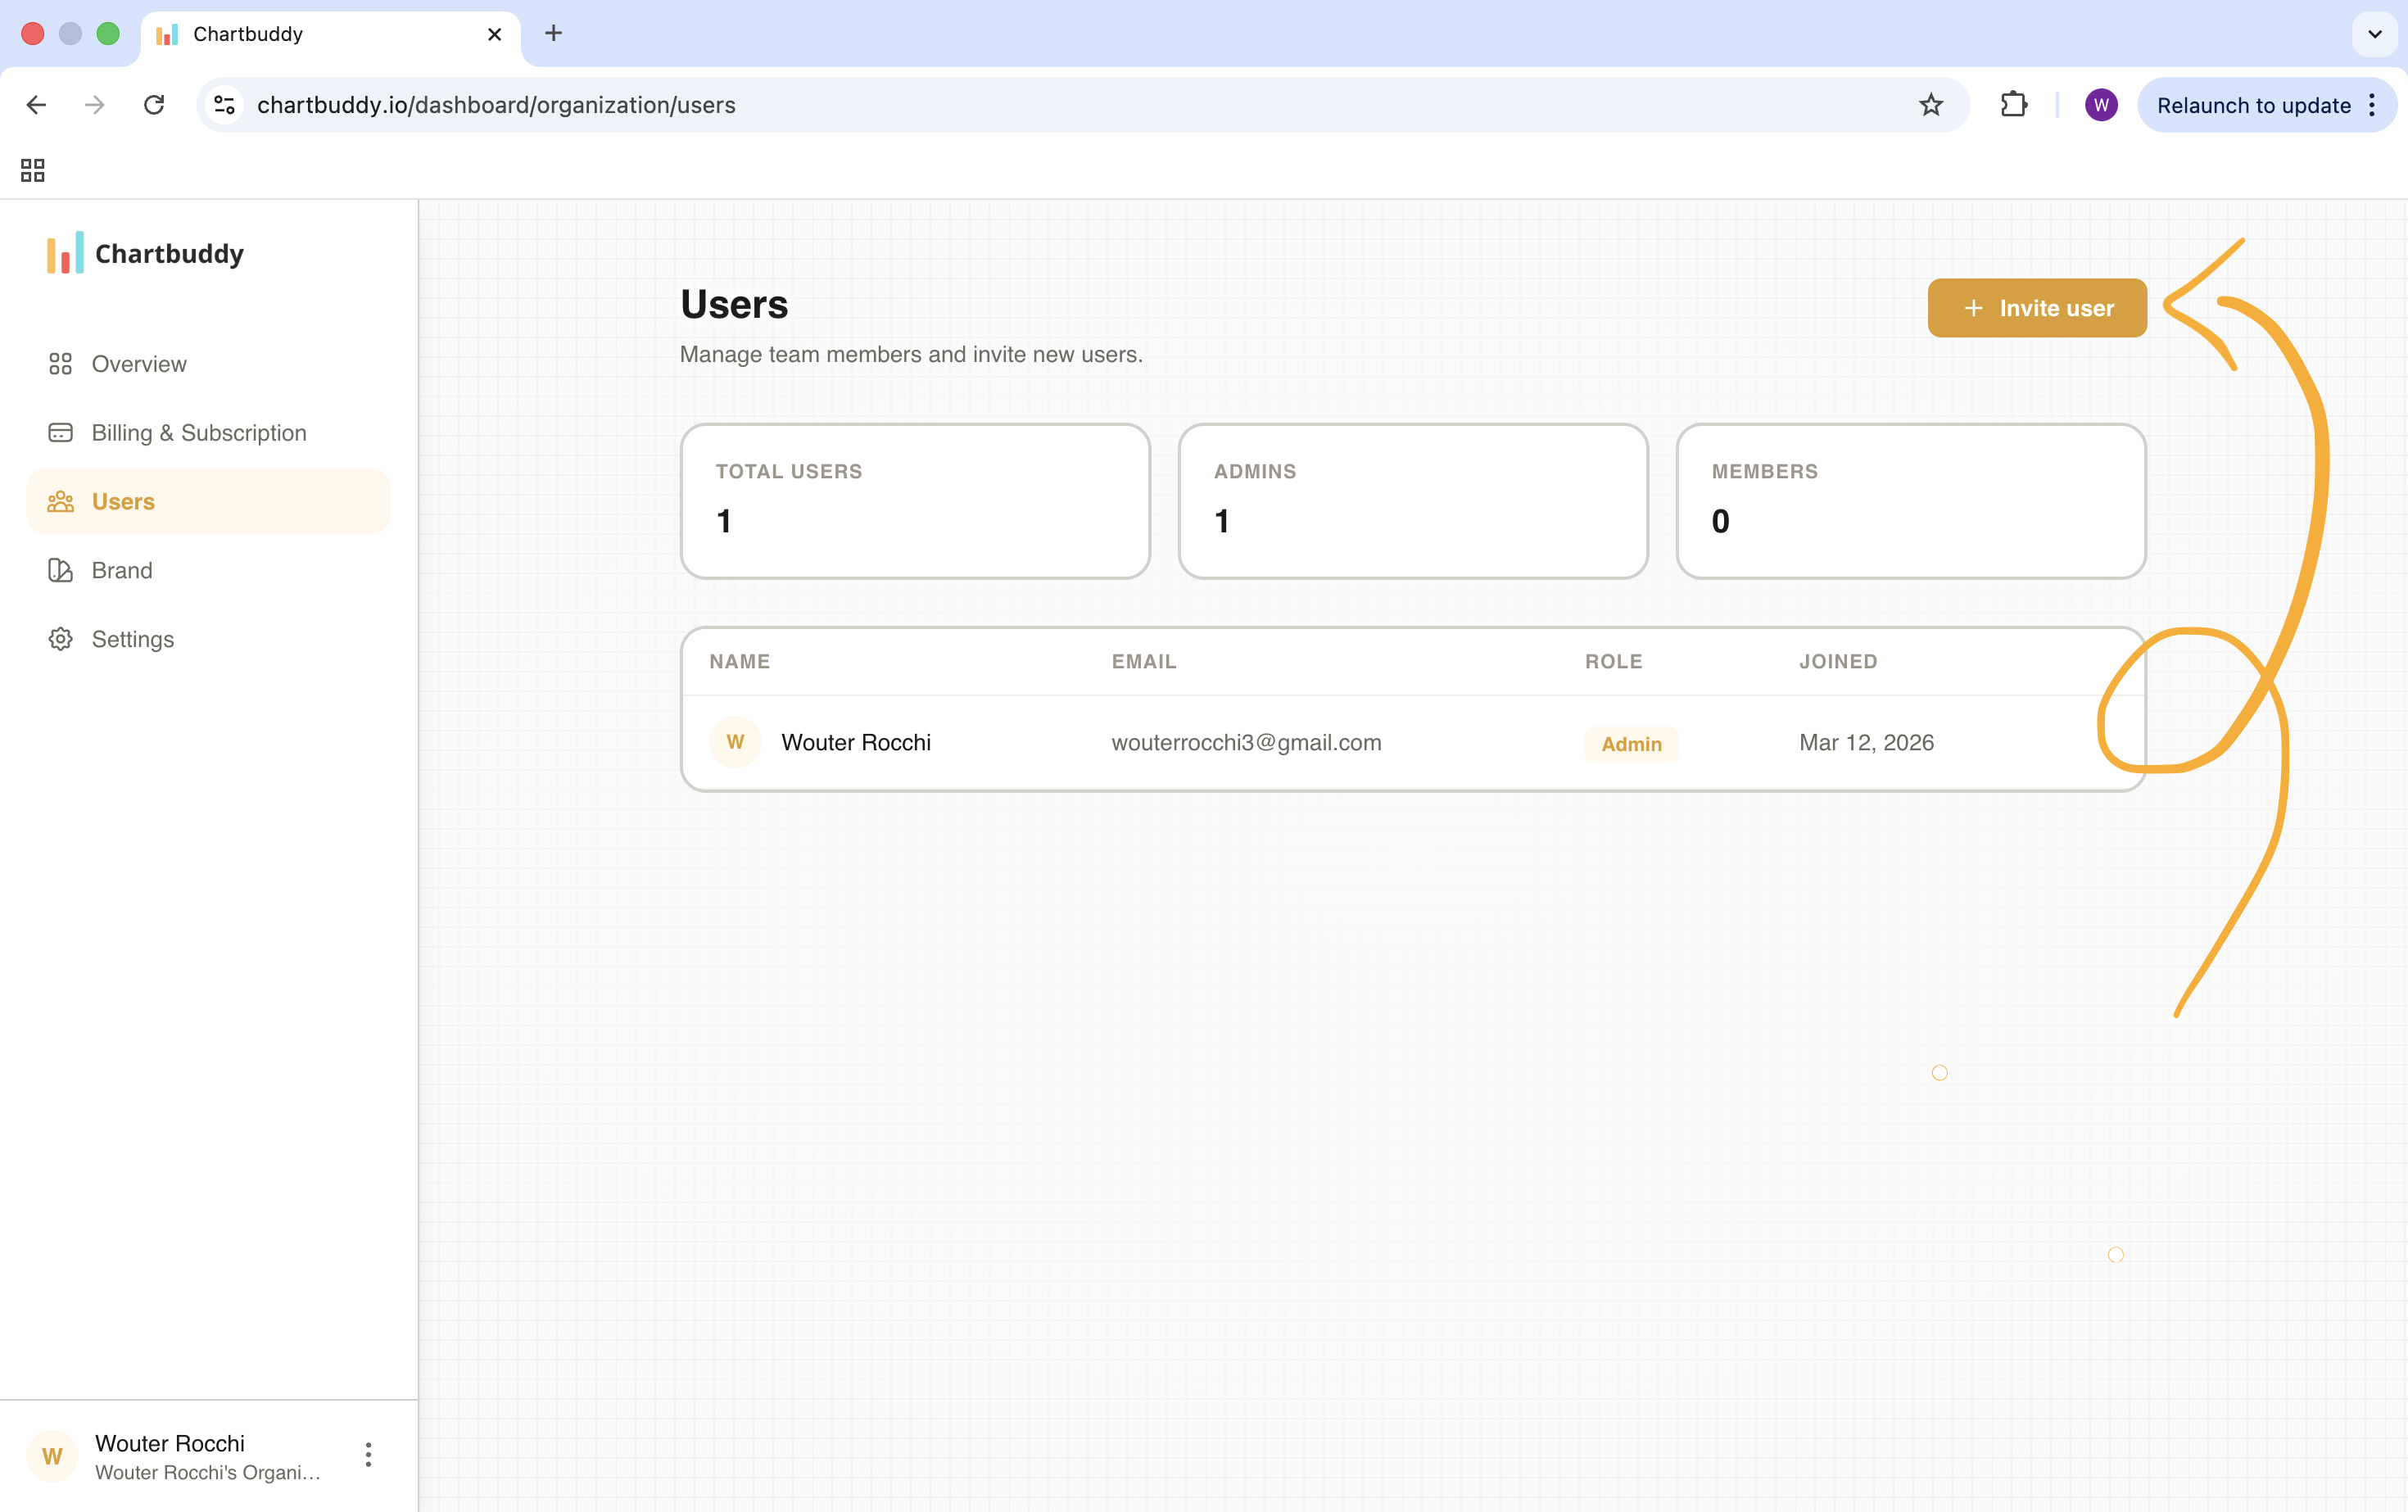
Step 3: Go to Users
In the dashboard, navigate to the Users section. Here you can see your current team members and invite new ones.
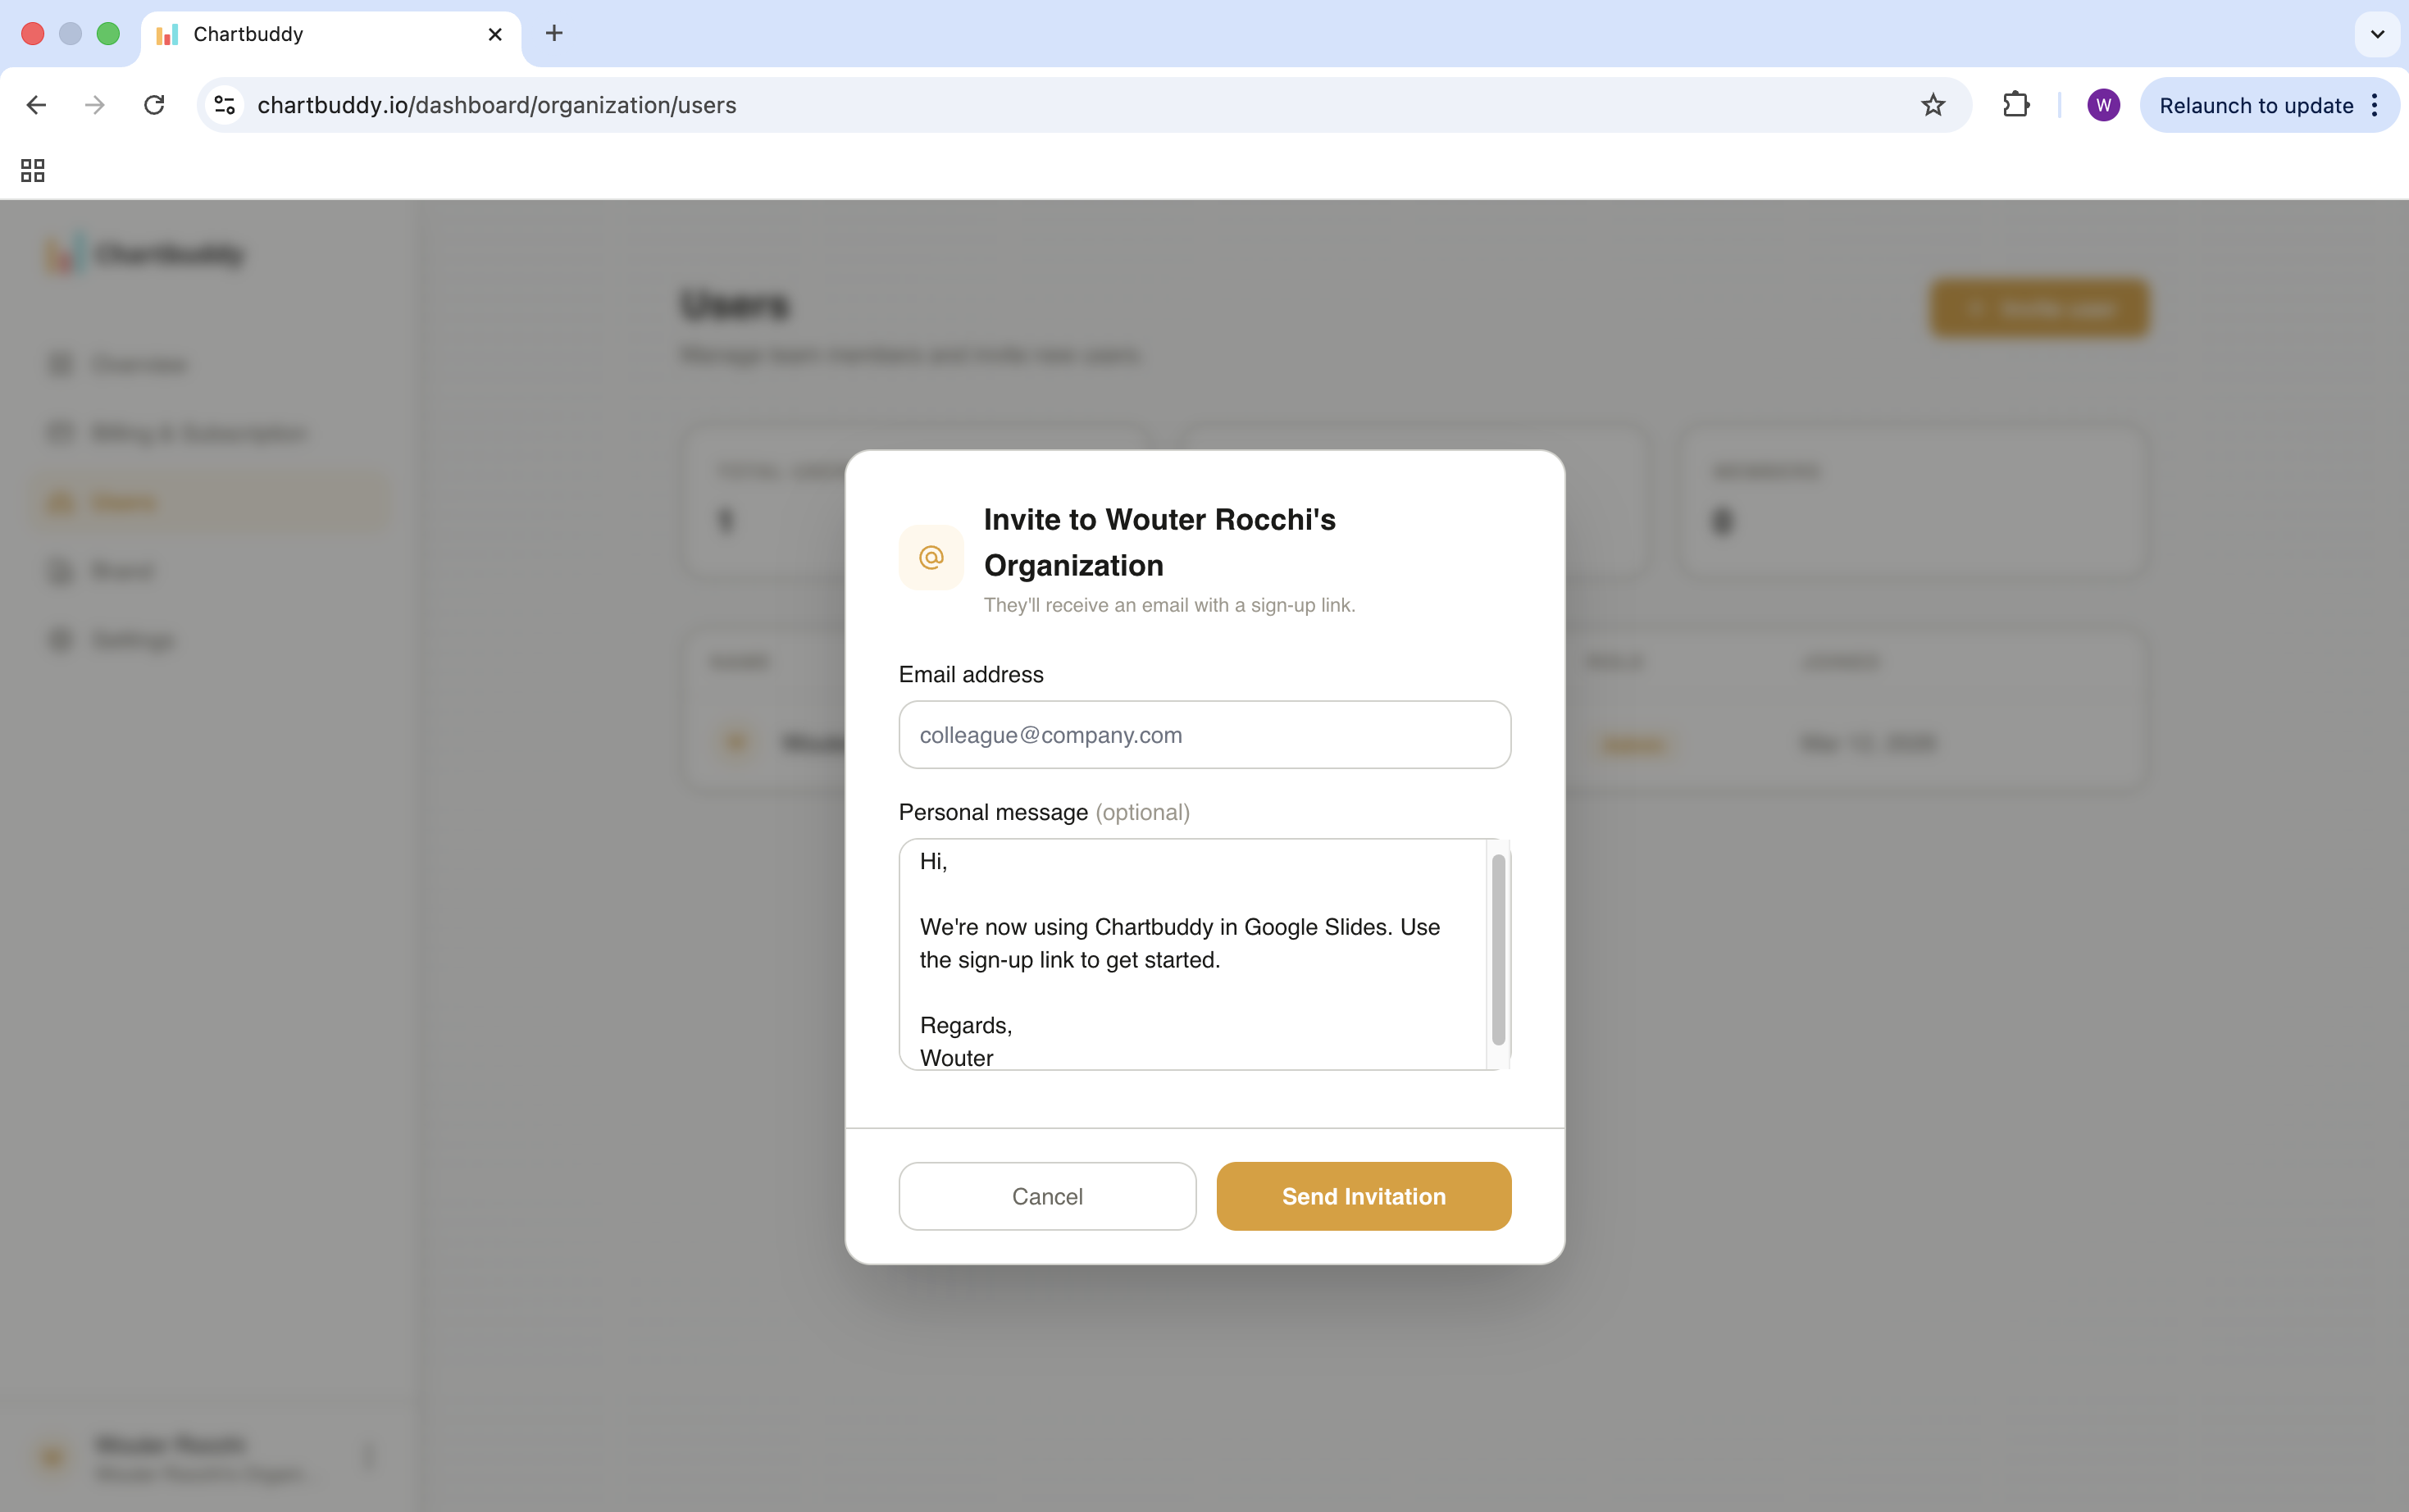
Step 4: Invite team members
Invite colleagues from your organization by email. They'll receive an invitation to join your Chartbuddy organization.
Once they accept and install the Chartbuddy extension, they are automatically:
- Added to your organization as members
- Added to your payment cycle and invoice (if you're on Chartbuddy Pro)
Managing users
From the Users section you can:
- See all current members of your organization
- Invite new members
- Remove members
- Assign admin rights
When you add or remove members on a Pro plan, your billing adjusts accordingly.