
Appearance
Projects
Everything in Hub happens in a project: a folder on your computer with its own chats, files and settings. New to Hub? Start with First launch and the main window.
Create a project
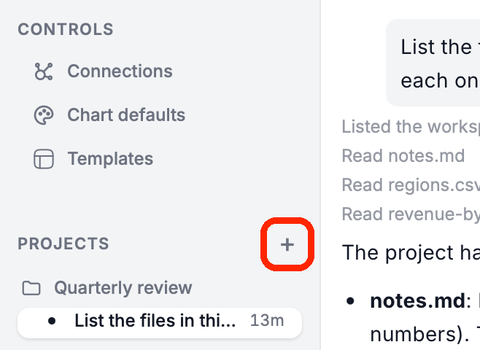
Click + next to PROJECTS.
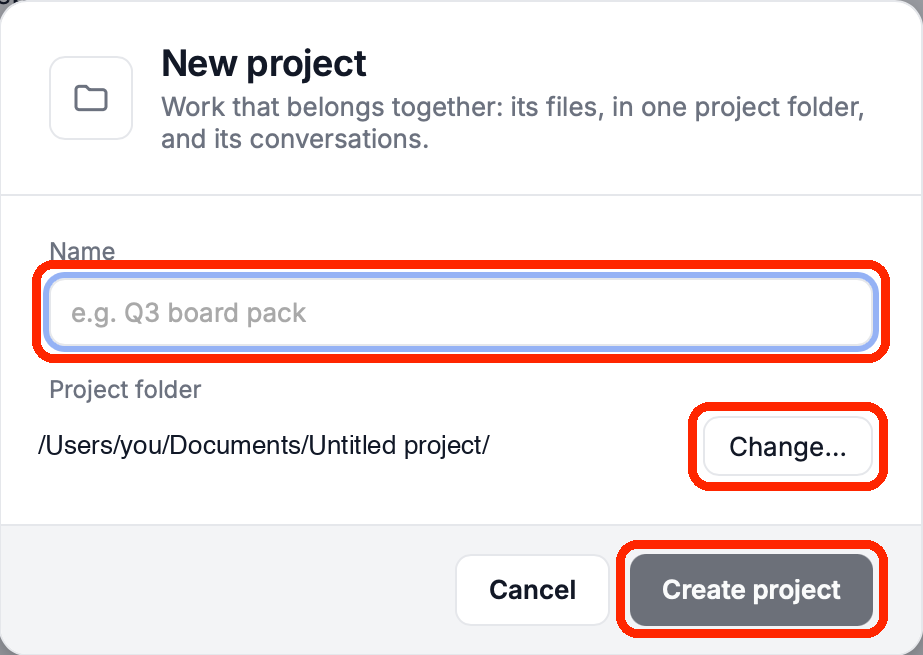
In New project, type a Name. Hub suggests a Project folder inside your projects folder (your Documents folder, unless you set another under Settings → Projects). Click Change… to use another folder, including one that already has your files.
Click Create project.
Project settings
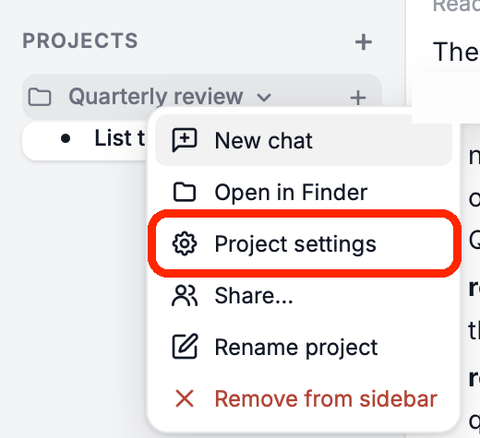
Right-click the project and choose Project settings.
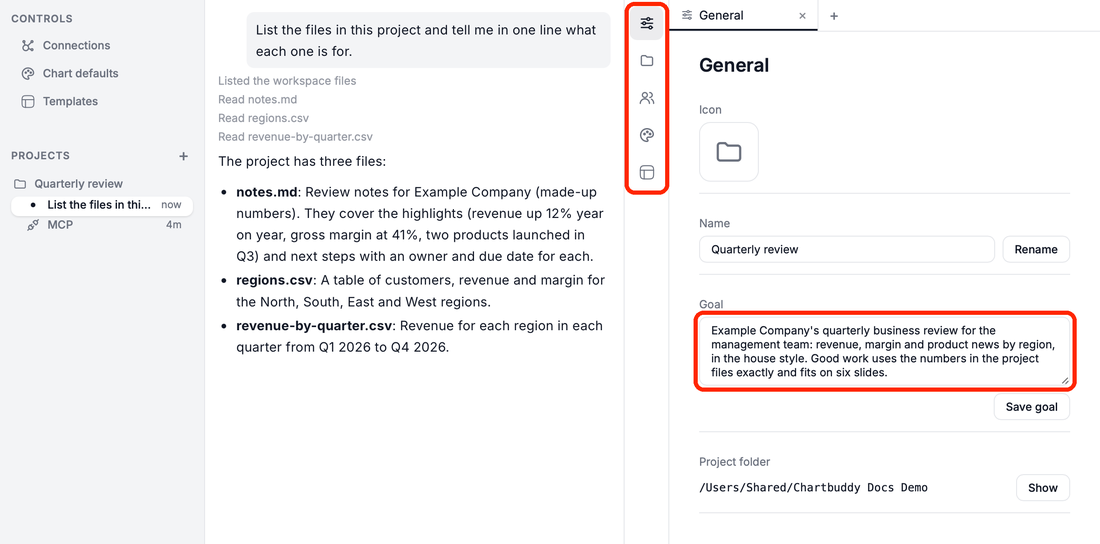
- Icon: an emoji, a library icon or a picture, shown next to the project in the sidebar.
- Name and Rename.
- Goal: what the project is for, who it serves and what good work looks like. Every chat in the project reads it. Click Save goal.
- Project folder: where the files are. Show opens it.
Only the project owner and organization admins can change the icon, name and goal.
Chats
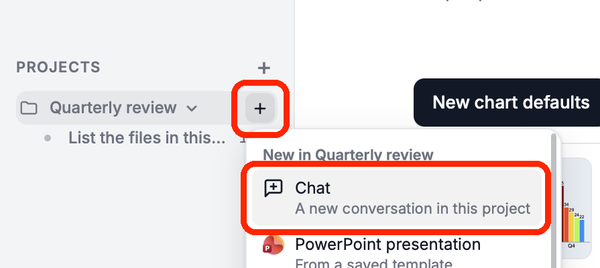
New chat: click + next to the project and choose Chat. A chat is named after your first message.
Delete a chat: hover over it and click the trash icon (Delete chat). The files it made stay in the project folder.
Add a chat to another one: drag a chat onto another chat and confirm Add conversation. To do this across projects, turn on Add conversations across projects under Settings → Projects.
Remove a project
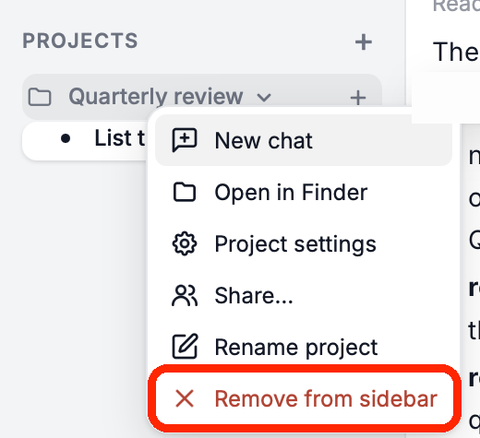
Right-click it and choose Remove from sidebar. Its chats are deleted from Hub; the project folder and its files stay on your computer.
Related
- Members, roles and sharing – who can see and change a project
- PowerPoint, Excel and Word, Google Slides and Docs and Markdown notes – the files in a project
- Use a presentation template with my team – a project shared with colleagues around one template